
My Worm Farming Journey: Breeding Worms for Healthier Soil
No matter what you are growing, healthy soil is a must for healthy plants. All gardeners, farmers and hobbyists growing flowers, vegetables or other garden plants will at some point need to improve the health of their soil.
My adventure into worm farming began when I realized the incredible benefits worms could bring to my soil, promoting plant health and enhancing flower production. While I'm not a worm expert, I currently have around 30,000 worms and I've learned a lot over the two years since I started breeding worms for vermicompost production.
In this article I’ll share my experiences and tips for anyone looking to start their own worm farming journey.
A Flower Farmer's Introduction to Worm Farming
I'm a flower farmer, and my primary goal is to create a thriving environment for my plants and flowers. I believe that worms are one of nature's unsung heroes, enriching the soil through their castings and fostering overall soil health. That's why I decided to delve into the world of worm farming.
Types of Worms for Worm Farming
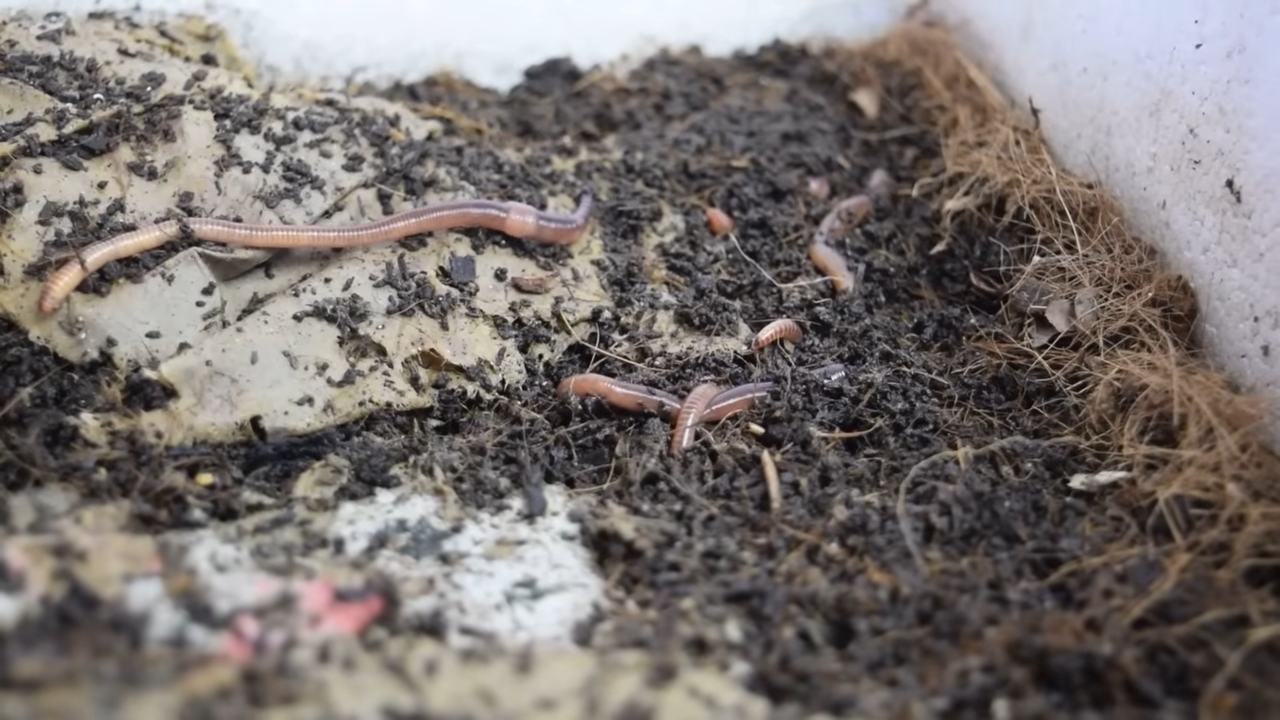
In my worm farm, I raise two types of worms: Tiger worms (Eisenia fetida) and Dendrobaena hortensis worms, which are also known as European nightcrawlers. These worm species are epegeic, meaning they inhabit the litter layer at the soil’s surface. My choice of these two worm varieties serves a dual purpose.
Tiger worms, also known as red wigglers, are popular with gardeners as they are a common breed of worm. Fast growing and cheap to buy, they make an excellent choice for a first time worm farmer.
Dendrobaena hortensis worms are similar to tiger worms in that they are both easy to breed and will reproduce with relative ease. On my farm I breed European nightcrawlers as they can tolerate cooler conditions.
Although there isn’t a huge difference between the two types of worm, Tiger worms are faster to breed, while Dendrobaenas tend to grow larger, making them excellent bait for fishing, creating an additional income stream when selling to anglers.
Other commonly cultivated worms on worm farms include the Alabama Jumper (Amynthas Gracilis) and the African nightcrawler. These species tend to grow longer and thrive in warmer climates, flourishing in tropical and subtropical conditions.
Creating the Perfect Bedding

To set the stage for my worm farm, I began by preparing the ideal bedding material. I chose a mixture of coir and well-rotted horse manure, providing a moist and nutrient-rich environment for my worms to thrive.
Coir, taken from the outer husks of coconuts retains moisture in the bedding whilst well-rotted horse manure serves as a biological kickstarter, enhancing the microbial life in the soil.
A single worm box can house between 500 and 1,000 worms and is made from polystryrene which is cheap to buy.
Worms are light-sensitive creatures, so we employ light as a means to prevent their escape. Keeping the lights on round the clock discourages the worms from fleeing the boxes.
However, to encourage them to rise to the surface to feed, we place carpet underlay on the surface to shield the boxes from light, enabling them to rise and feed comfortably. Cutting the underlay to leave gaps at the edges ensures that the worms are able to feed but keeps them from venturing further.
We have also begun adding a layer of wet cardboard as this assists in moisture retention and overall worm health.
Nurturing Worms with Care

Feeding worms is an art that I've learned through trial and error. Initially, I provided finely ground chicken food (layers pellets) to the worms, with the aim of offering them easily digestible, high-protein food to keep them content and well-fed.
It's important to remember that worms have tiny mouths and primarily feed on the microbes that break down organic matter rather than the organic matter itself.
However, I faced a significant challenge early on. Overfeeding the worms led to food fermentation within the bedding, resulting in a condition called "protein poisoning" or "String of Pearls" disease.
This fermented food released gases within the worms' bodies, causing them to appear like a string of pearls, which is often fatal for the worms.
To prevent this from happening again, I adjusted their diet by introducing ground eggshells to lower pH levels as well as alpaca manure, which offered variety and improved their overall health.
Providing worms with fresh bedding including cardboard also proved beneficial. I now continue to enrich their chicken food diet with eggshells, alpaca manure, and composted materials from my fields which I give to them just once a week.
With this setup we gave our compost a huge boost by adding the worm castings to it.
Maintaining Proper Moisture Levels

Ensuring proper moisture levels is vital for worm farming. Worms breathe through their skin and need constant contact with moisture to thrive. For efficiency, I use a backpack sprayer to do this.
However, using chlorinated tap water can harm the worms and the beneficial microorganisms in their environment.
To counter this, I either let water stand for 24-48 hours to allow the chlorine to dissipate or mix it with humic acid to neutralize its effects.
Breeding Worms and their Offspring
I maintain separate trays for adult worms and their offspring. Initially, I tried to hatch worm eggs separately, but I discovered that they hatched more successfully when kept among the adults.
These trays allow the worms to grow, reproduce, and ultimately contribute to the vermicompost.
Overcoming Challenges
Worm farming comes with its fair share of challenges. I faced an issue with mice infiltrating my worm beds, attracted by the chicken food. Although not a direct threat to the worms, the mice were causing disturbance and posed a biological threat.
To tackle this issue, we caught the mice and used expanding foam to seal all entry points into the room. The expanding foam worked particularly well in preventing the mice from entering and seems to have brought an end to the issue.
As mentioned earlier, the bout of protein poisoning led to some worm casualties, necessitating a bedding change and a pause in feeding.
Harvesting Vermicompost

The highlight of worm farming is ultimately harvesting the vermicompost for use in your garden or farm.
To separate adult worms from the compost, I employ a sieving process using two different mesh sizes and three trays. This separates the smaller worms, eggs, and baby worms from the mature compost.
I first use a ⅜ inch sieve to remove the larger worms and pieces of debris from the worm bedding, smaller worms, and the eggs. I then place the larger worms into fresh bedding to create their new home.
I then use a second sieve with a ⅛ inch mesh to separate the eggs, baby worms and some of the chunkier pieces of compost from the vermicompost.
I then either create a separate home for the eggs and babies to hatch and grow, or add them back with the adults. As I believe they grow better around adults, I tend to do the latter.
Using the Vermicompost

The resulting vermicompost can be used in various applications, such as seed inoculation, potting mixes, and soil conditioning.
On my own farm I use my worm castings to inoculate my cover crops, as well as using it in my potting mixes and seed starter mixes. I use a ratio of 20% worm castings to 80% seed sowing medium, giving an initial biological boost to my plants’ root zones.
You can also use vermicompost to make extracts and teas. By placing it in a mesh bag and agitating it into water, you can create your own extracts which you can then spray or water into the soil.

Worm farming has been an exciting journey for me. While it presented challenges, I've also witnessed incredible benefits. My worm farm now contributes to healthier plants, improved soil quality, and bountiful flower production on my farm.
If you're considering starting your own worm farm, take inspiration from my experiences, and don't hesitate to ask questions or seek guidance.
Happy worm farming, and may healthier soils await you on your journey!