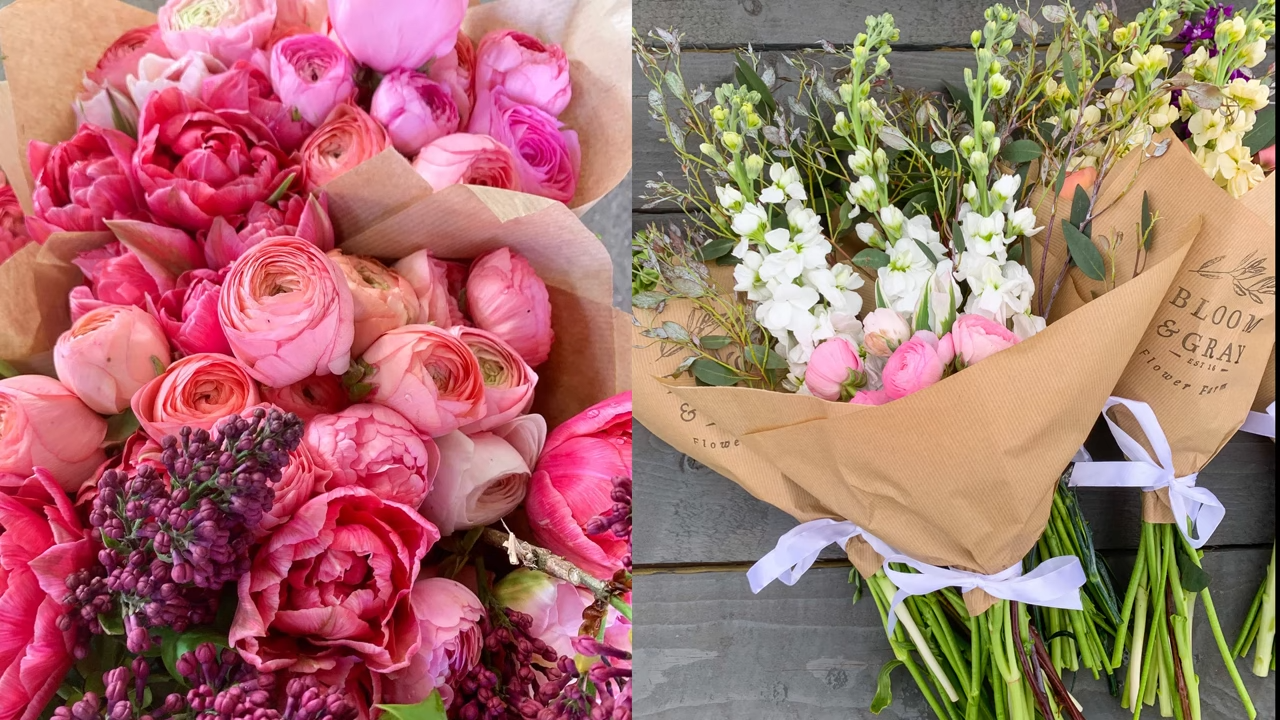
How To Wrap Bouquets In Brown Kraft Paper
When it comes to presenting a beautiful bouquet of flowers, the wrapping can make all the difference. One popular choice among florists and flower enthusiasts is kraft paper, which is beneficial for its increased strength and eco-friendliness.
In this blog post, I'll not only show you how to wrap bouquets in kraft paper but also explain why using kraft paper for your flower arrangements is an excellent choice.
Why Use Kraft Paper to Wrap Bouquets?
Kraft paper has gained popularity in recent years as a preferred choice for wrapping bouquets, and for good reason. Here are a few compelling reasons why kraft paper is a fantastic option for your floral arrangements:
Eco-Friendly
Brown Kraft paper is an environmentally friendly choice as it is made from natural wood fibers and doesn’t undergo the same bleaching process as normal white paper. Using it for your bouquets aligns with sustainable practices.
Versatile and Rustic
Kraft paper's neutral brown color and natural texture lend a rustic and homemade charm to your flower arrangements. It complements a wide variety of flowers and styles, making it suitable for various occasions.
Cost-Effective
It's affordable and readily available, making it a budget-friendly choice for wrapping multiple bouquets.
Customizable
Kraft paper provides a blank canvas for creativity. You can customize it with your logo, stamps, or handwritten messages to add a personal touch to your floral gifts.
How to Wrap Flowers in Kraft Paper
Now that you know why kraft paper is an excellent choice I’ll show you how to wrap your bouquets beautifully using this versatile material.
Materials You'll Need
Flowers of your choice
Kraft paper roll
Scissors
Brown parcel tape
Twine or ribbon
Stamps or logo for personalization (optional)
Step-by-Step Guide
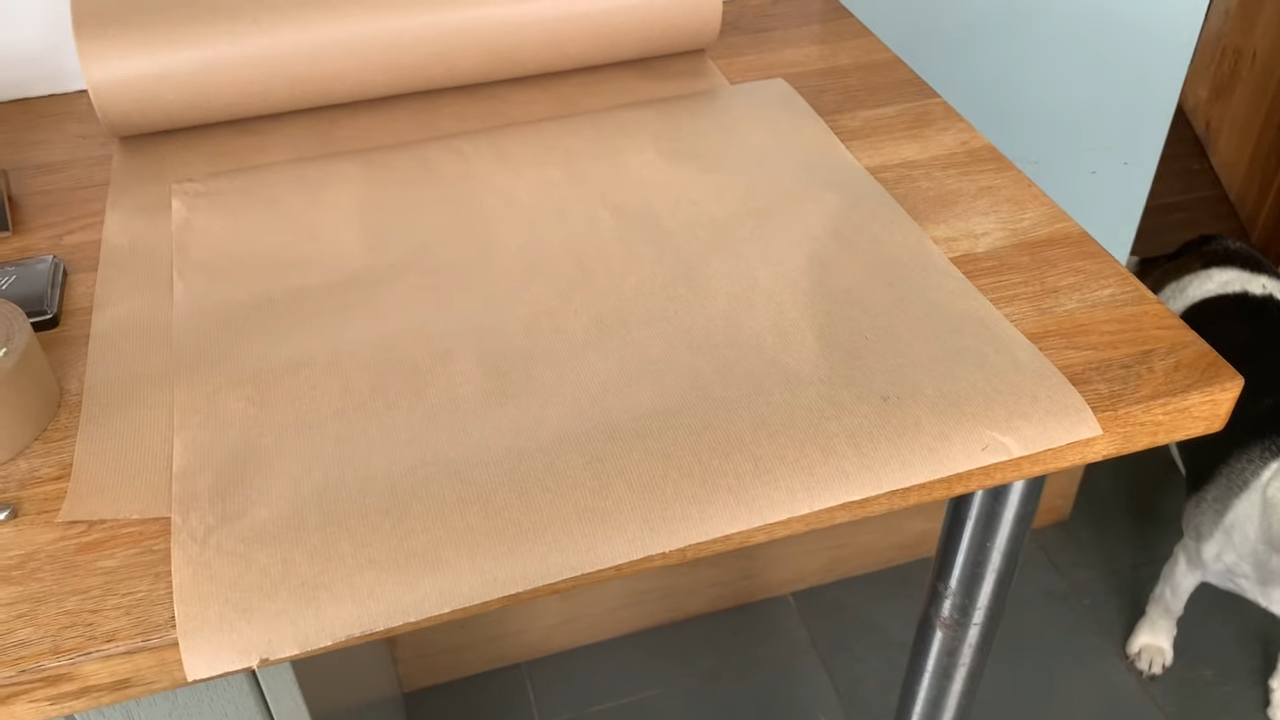
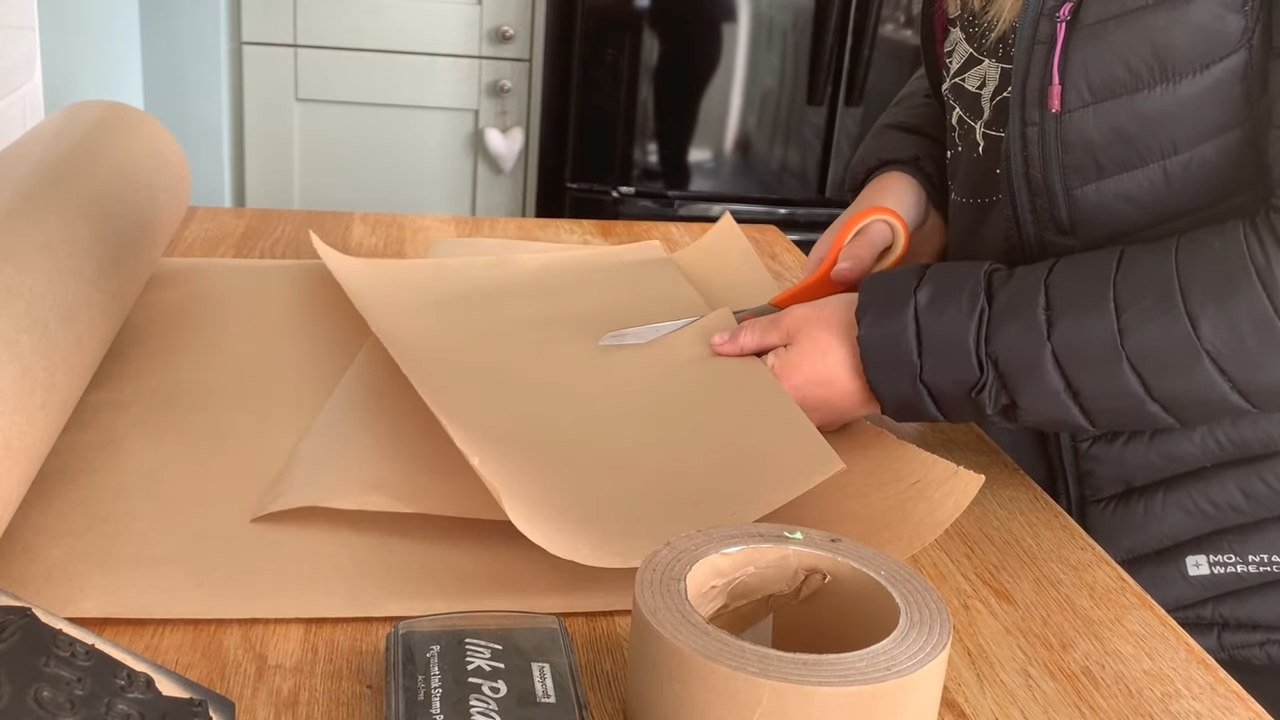
1. Cut The Paper
Start by unrolling your kraft paper and cutting out a rectangular piece. The size of the square will depend on the size of your bouquet, but a 20 x 30 inch rectangle is a good starting point.

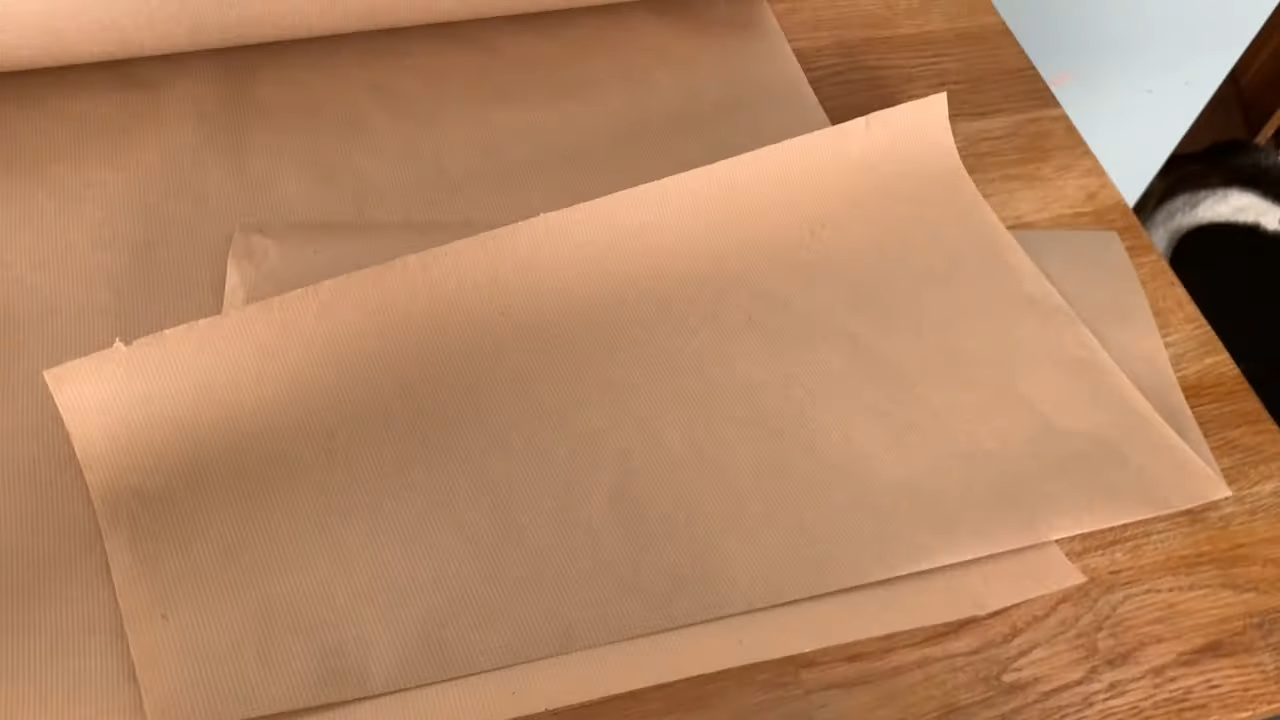
2. Fold the Paper
With the short side of the rectangle closest to you, fold it in half at a slight angle so that the corners are an inch or two apart. The exact angle doesn’t have to be perfect - just make sure the corners don’t meet.
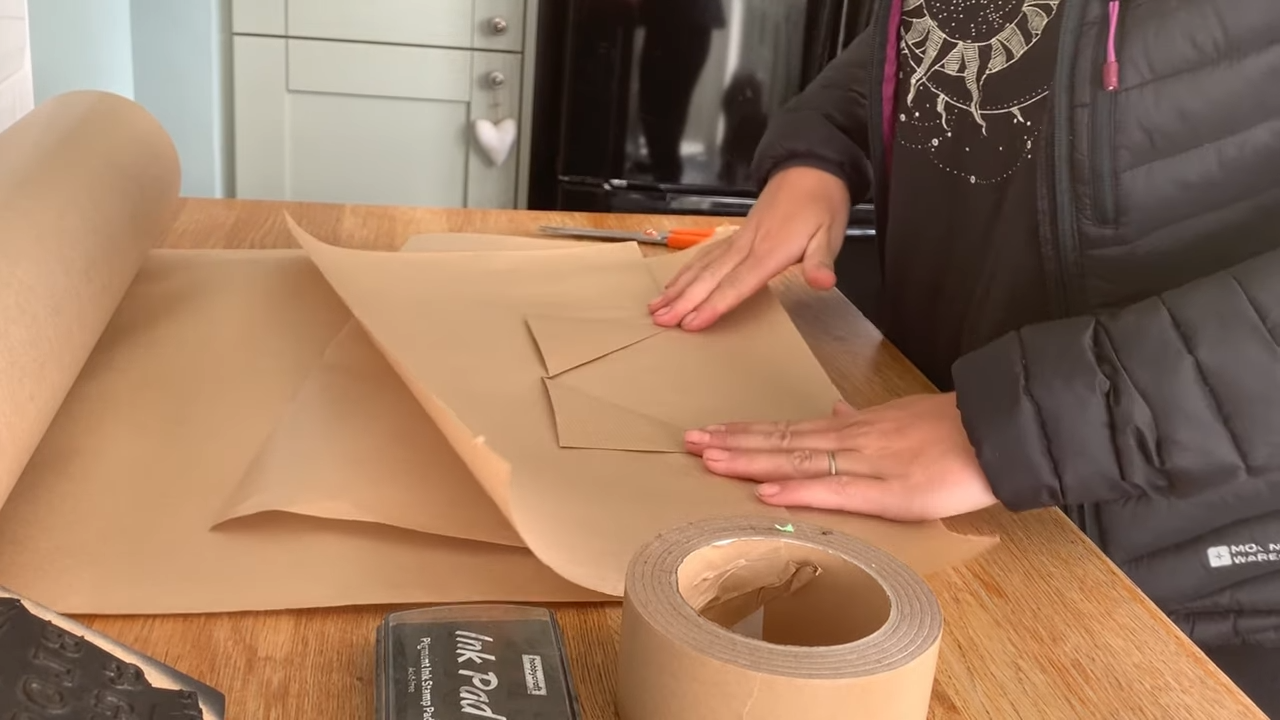
3. Create an Opening in the Middle
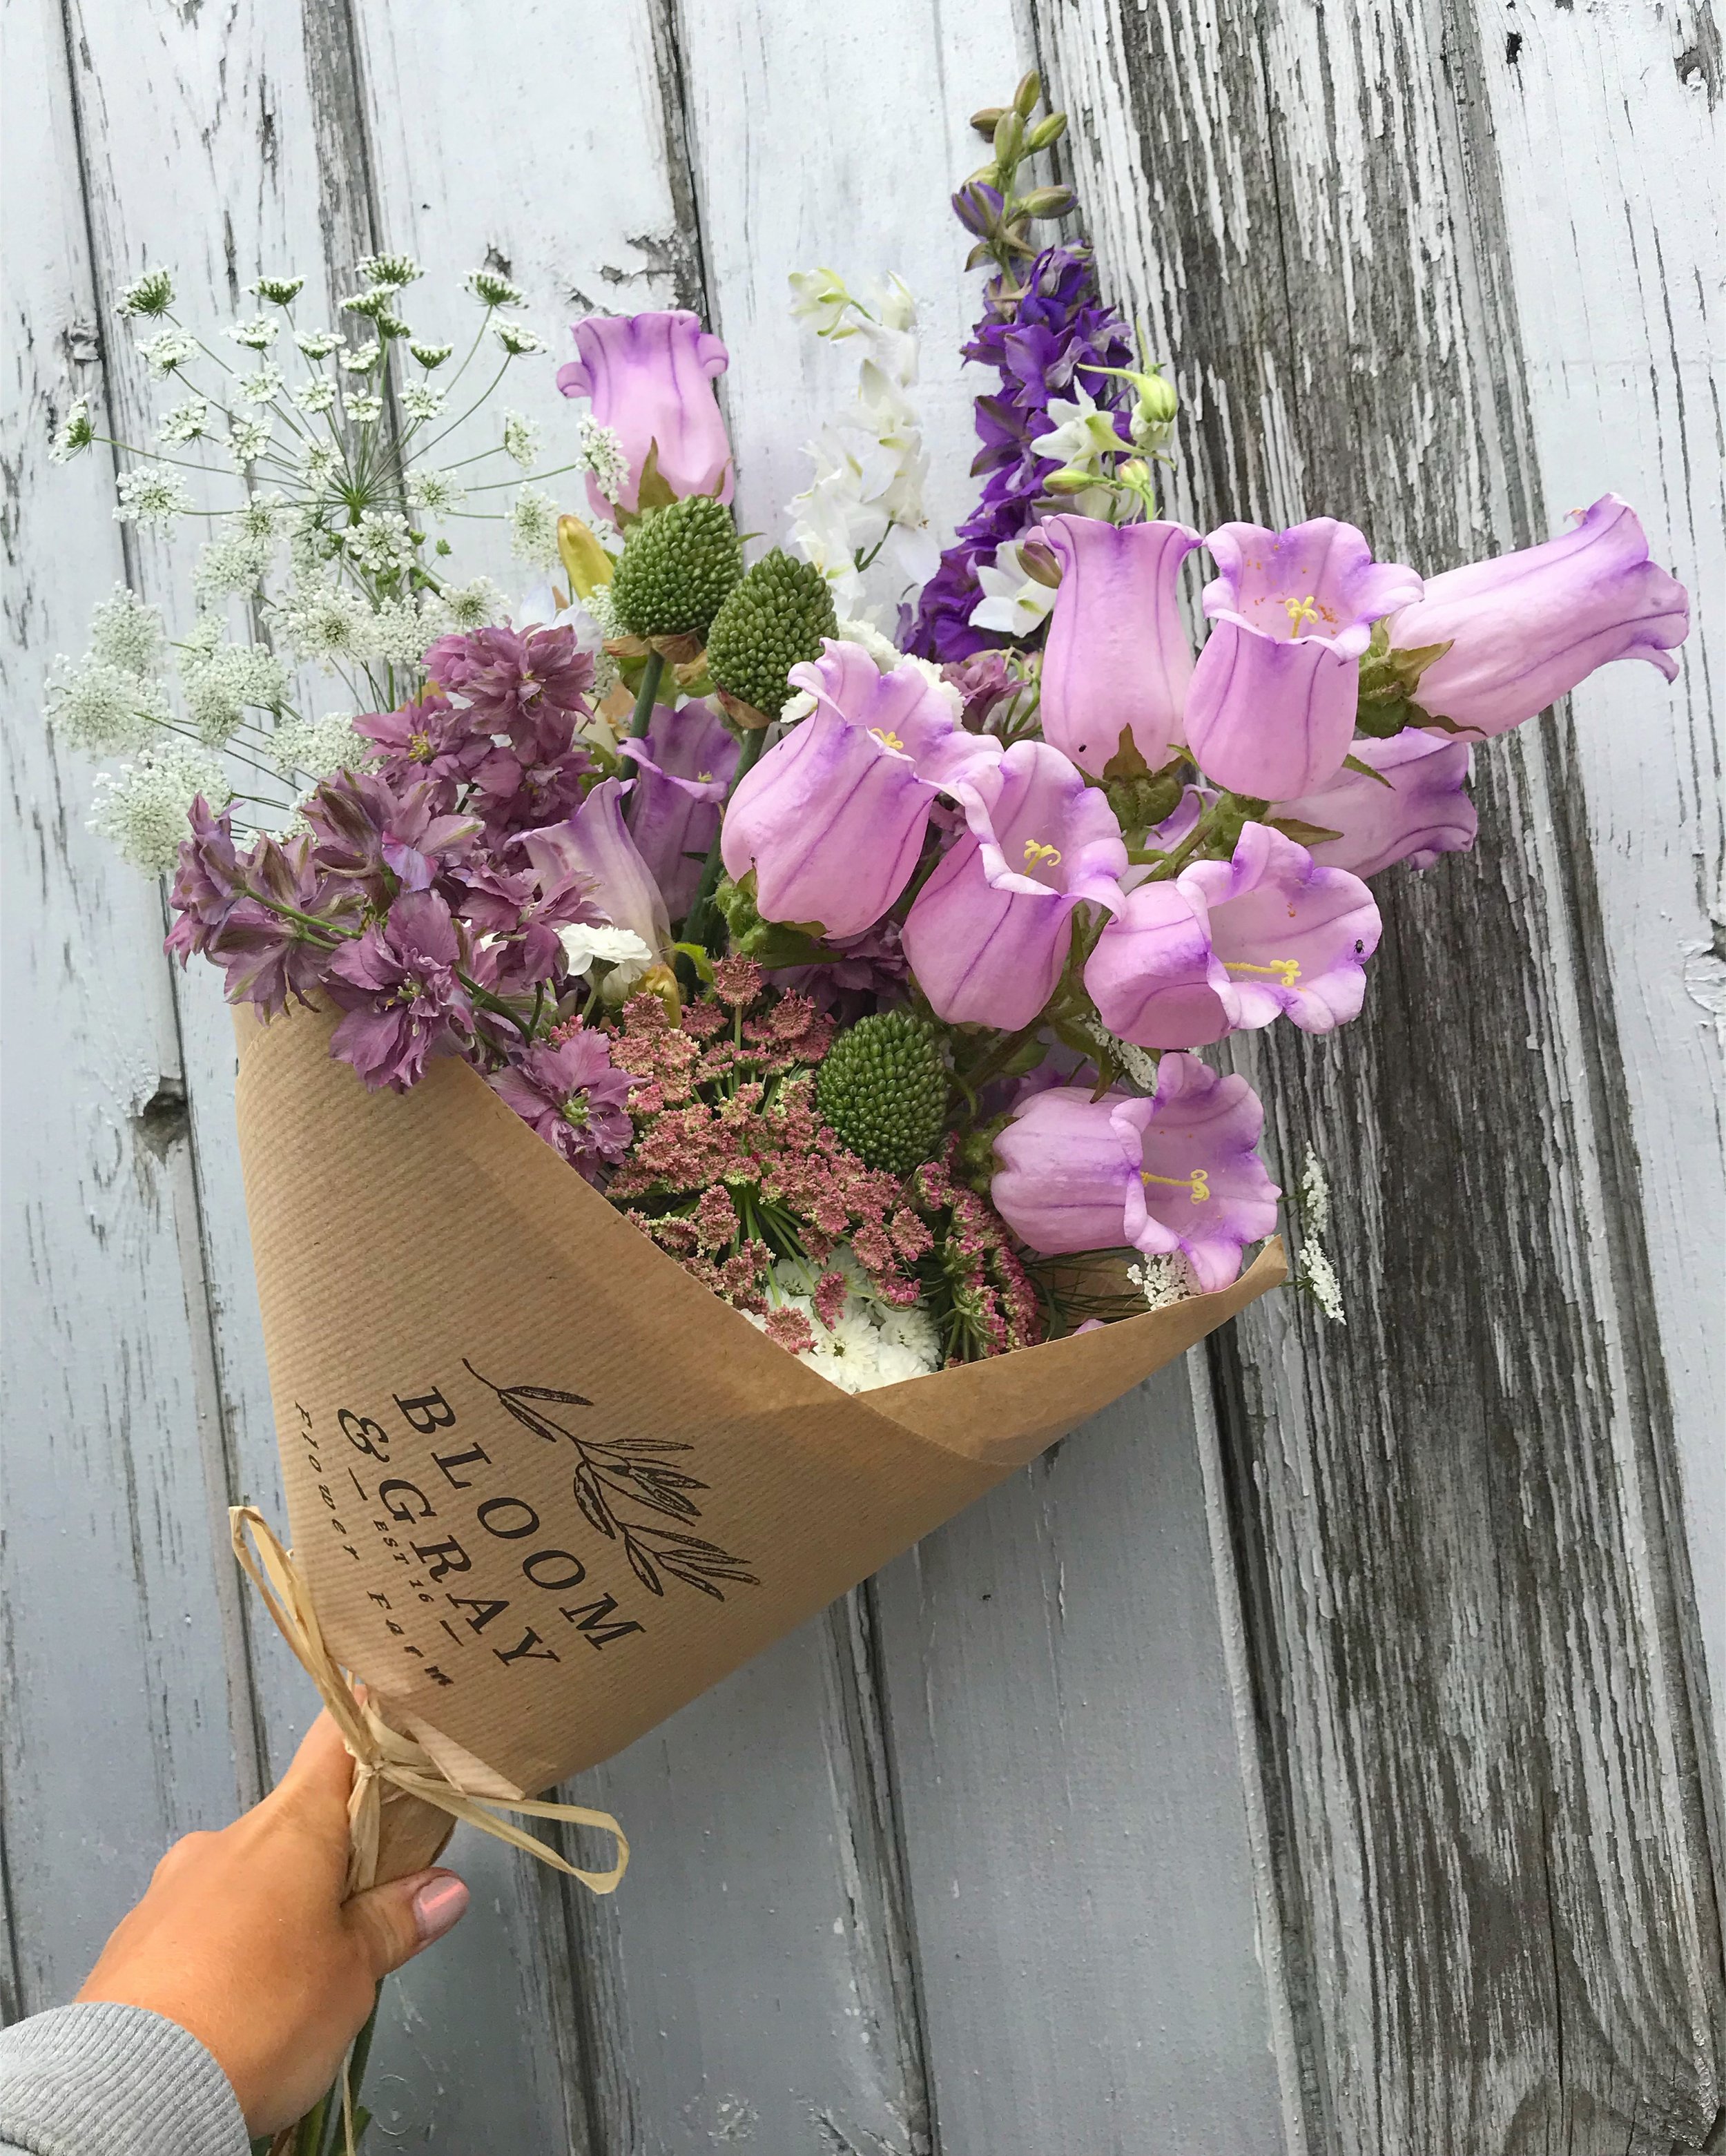
With the folded paper in front of you, make a short incision slightly less than half way into the paper. Then make two triangular folds from each side of the incision and tape them down as shown in the photo.
4. Personalize It
Now comes the fun part! If you have a stamp or logo, use it to add a personalized touch to the kraft paper wrap. Stamp it on the front or back of the bouquet wrap. If you’re a budding florist then investing in a stamp is an excellent marketing tool.

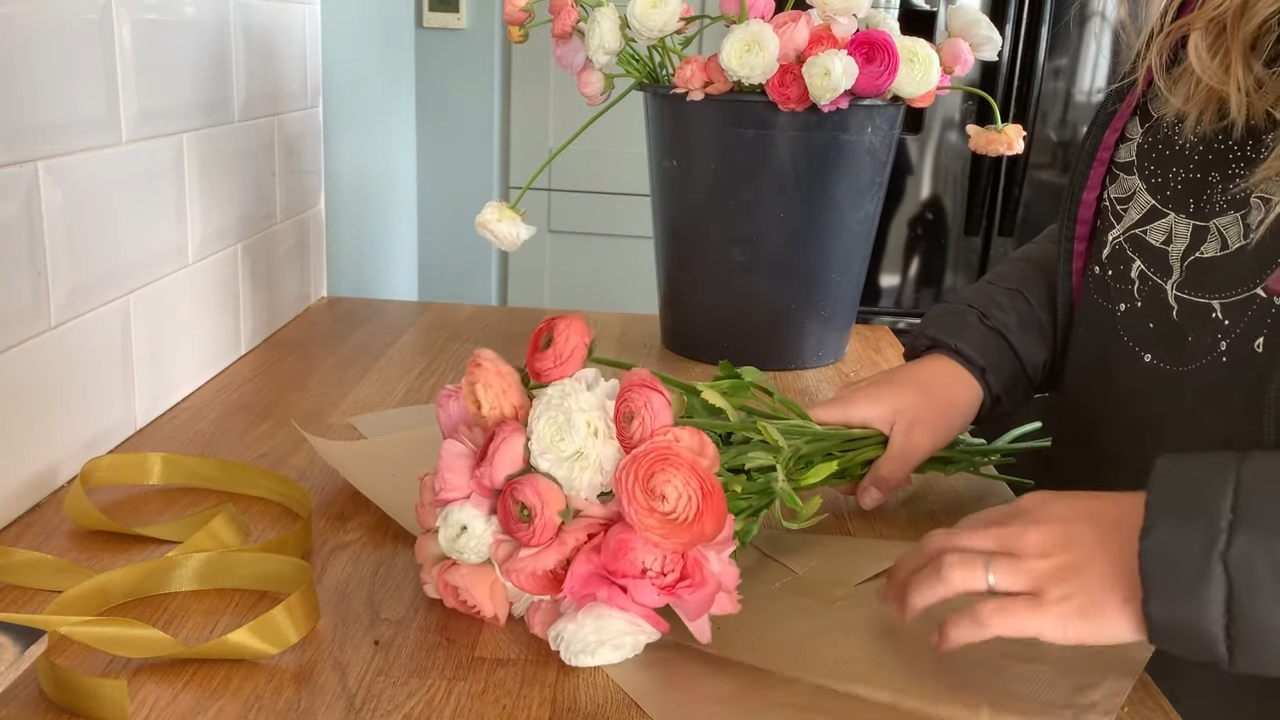
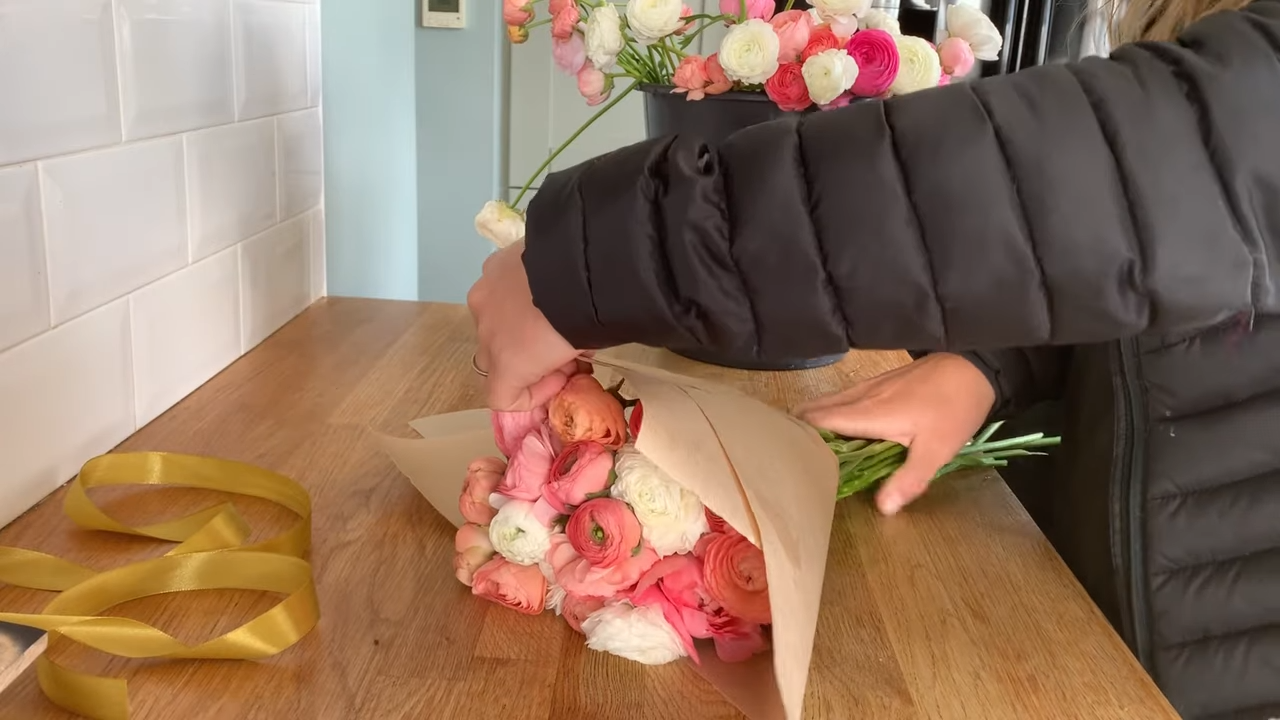
5.Wrap the Bouquet
Collect your flowers and place your bouquet in the center of the folded paper, with the heads just extending beyond the edge of the paper. Roll the paper around the bouquet, ensuring it's snug but not too tight.
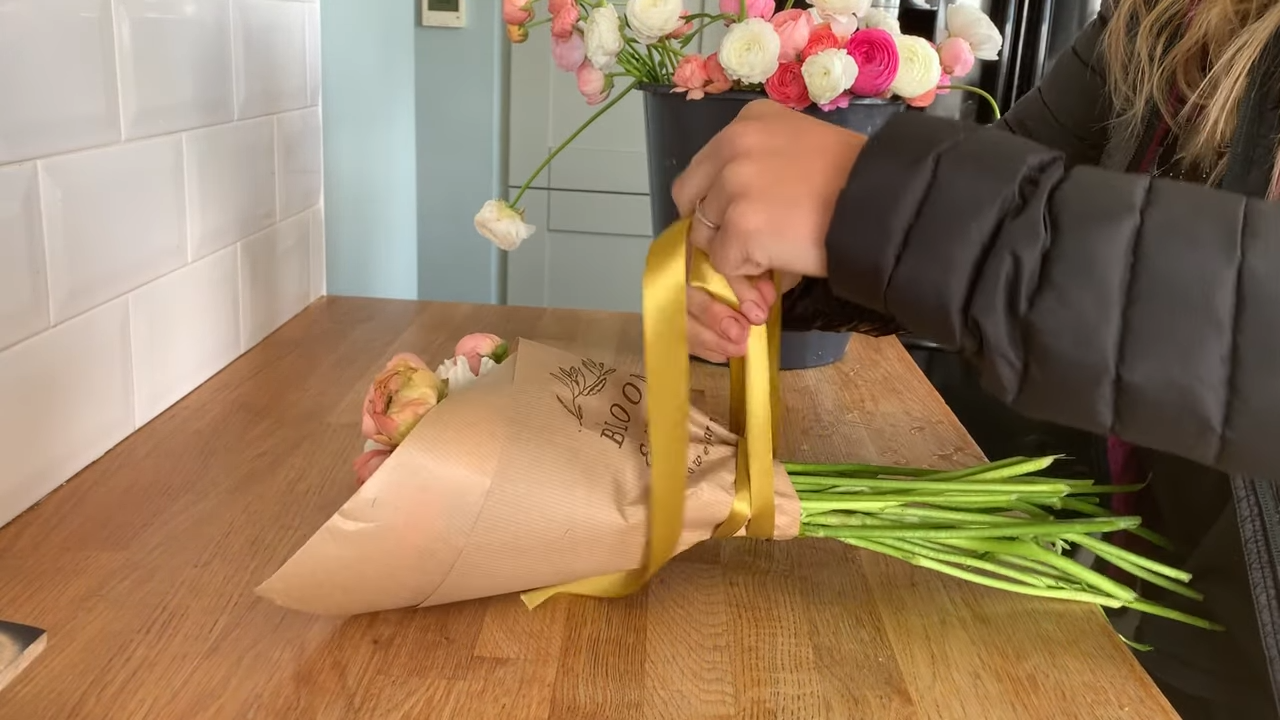
6. Tie the Bouquet
Holding the flowers by the stem, loop a ribbon or twine around the lowest part of the paper. Then place the bouquet down and tie the ribbon into a bow - just like a shoelace.

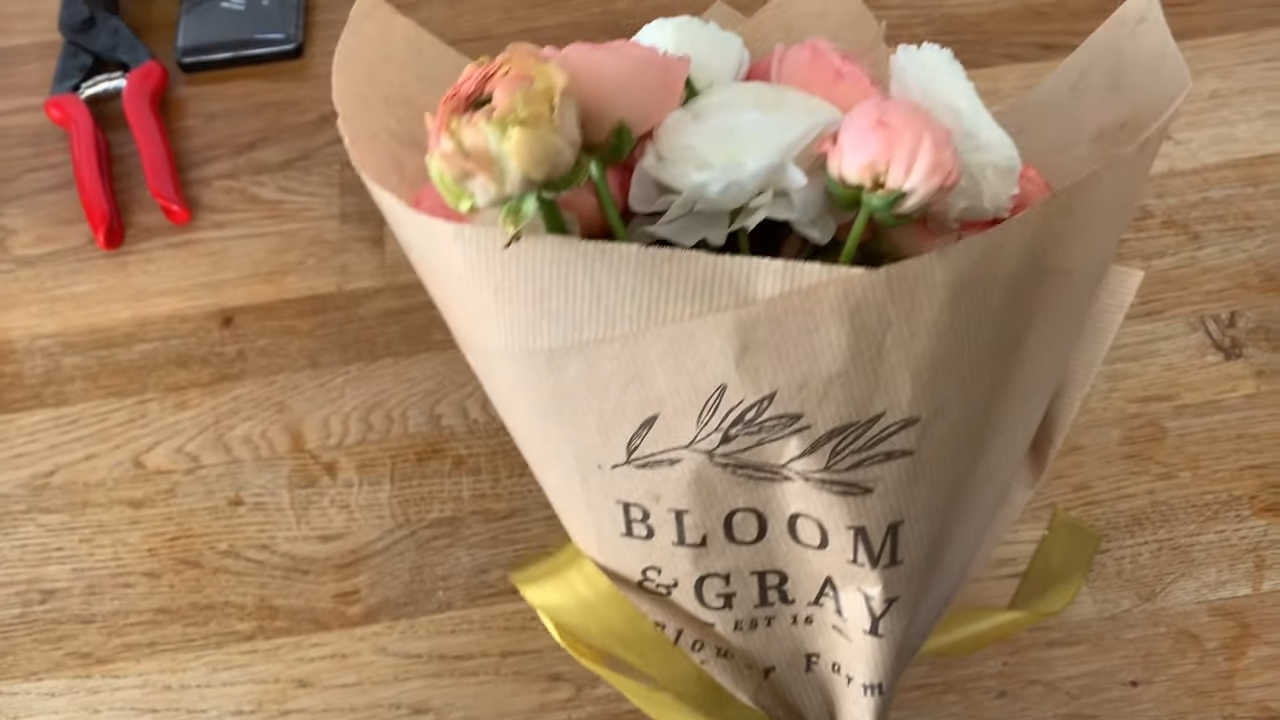
7. Present Your Bouquet
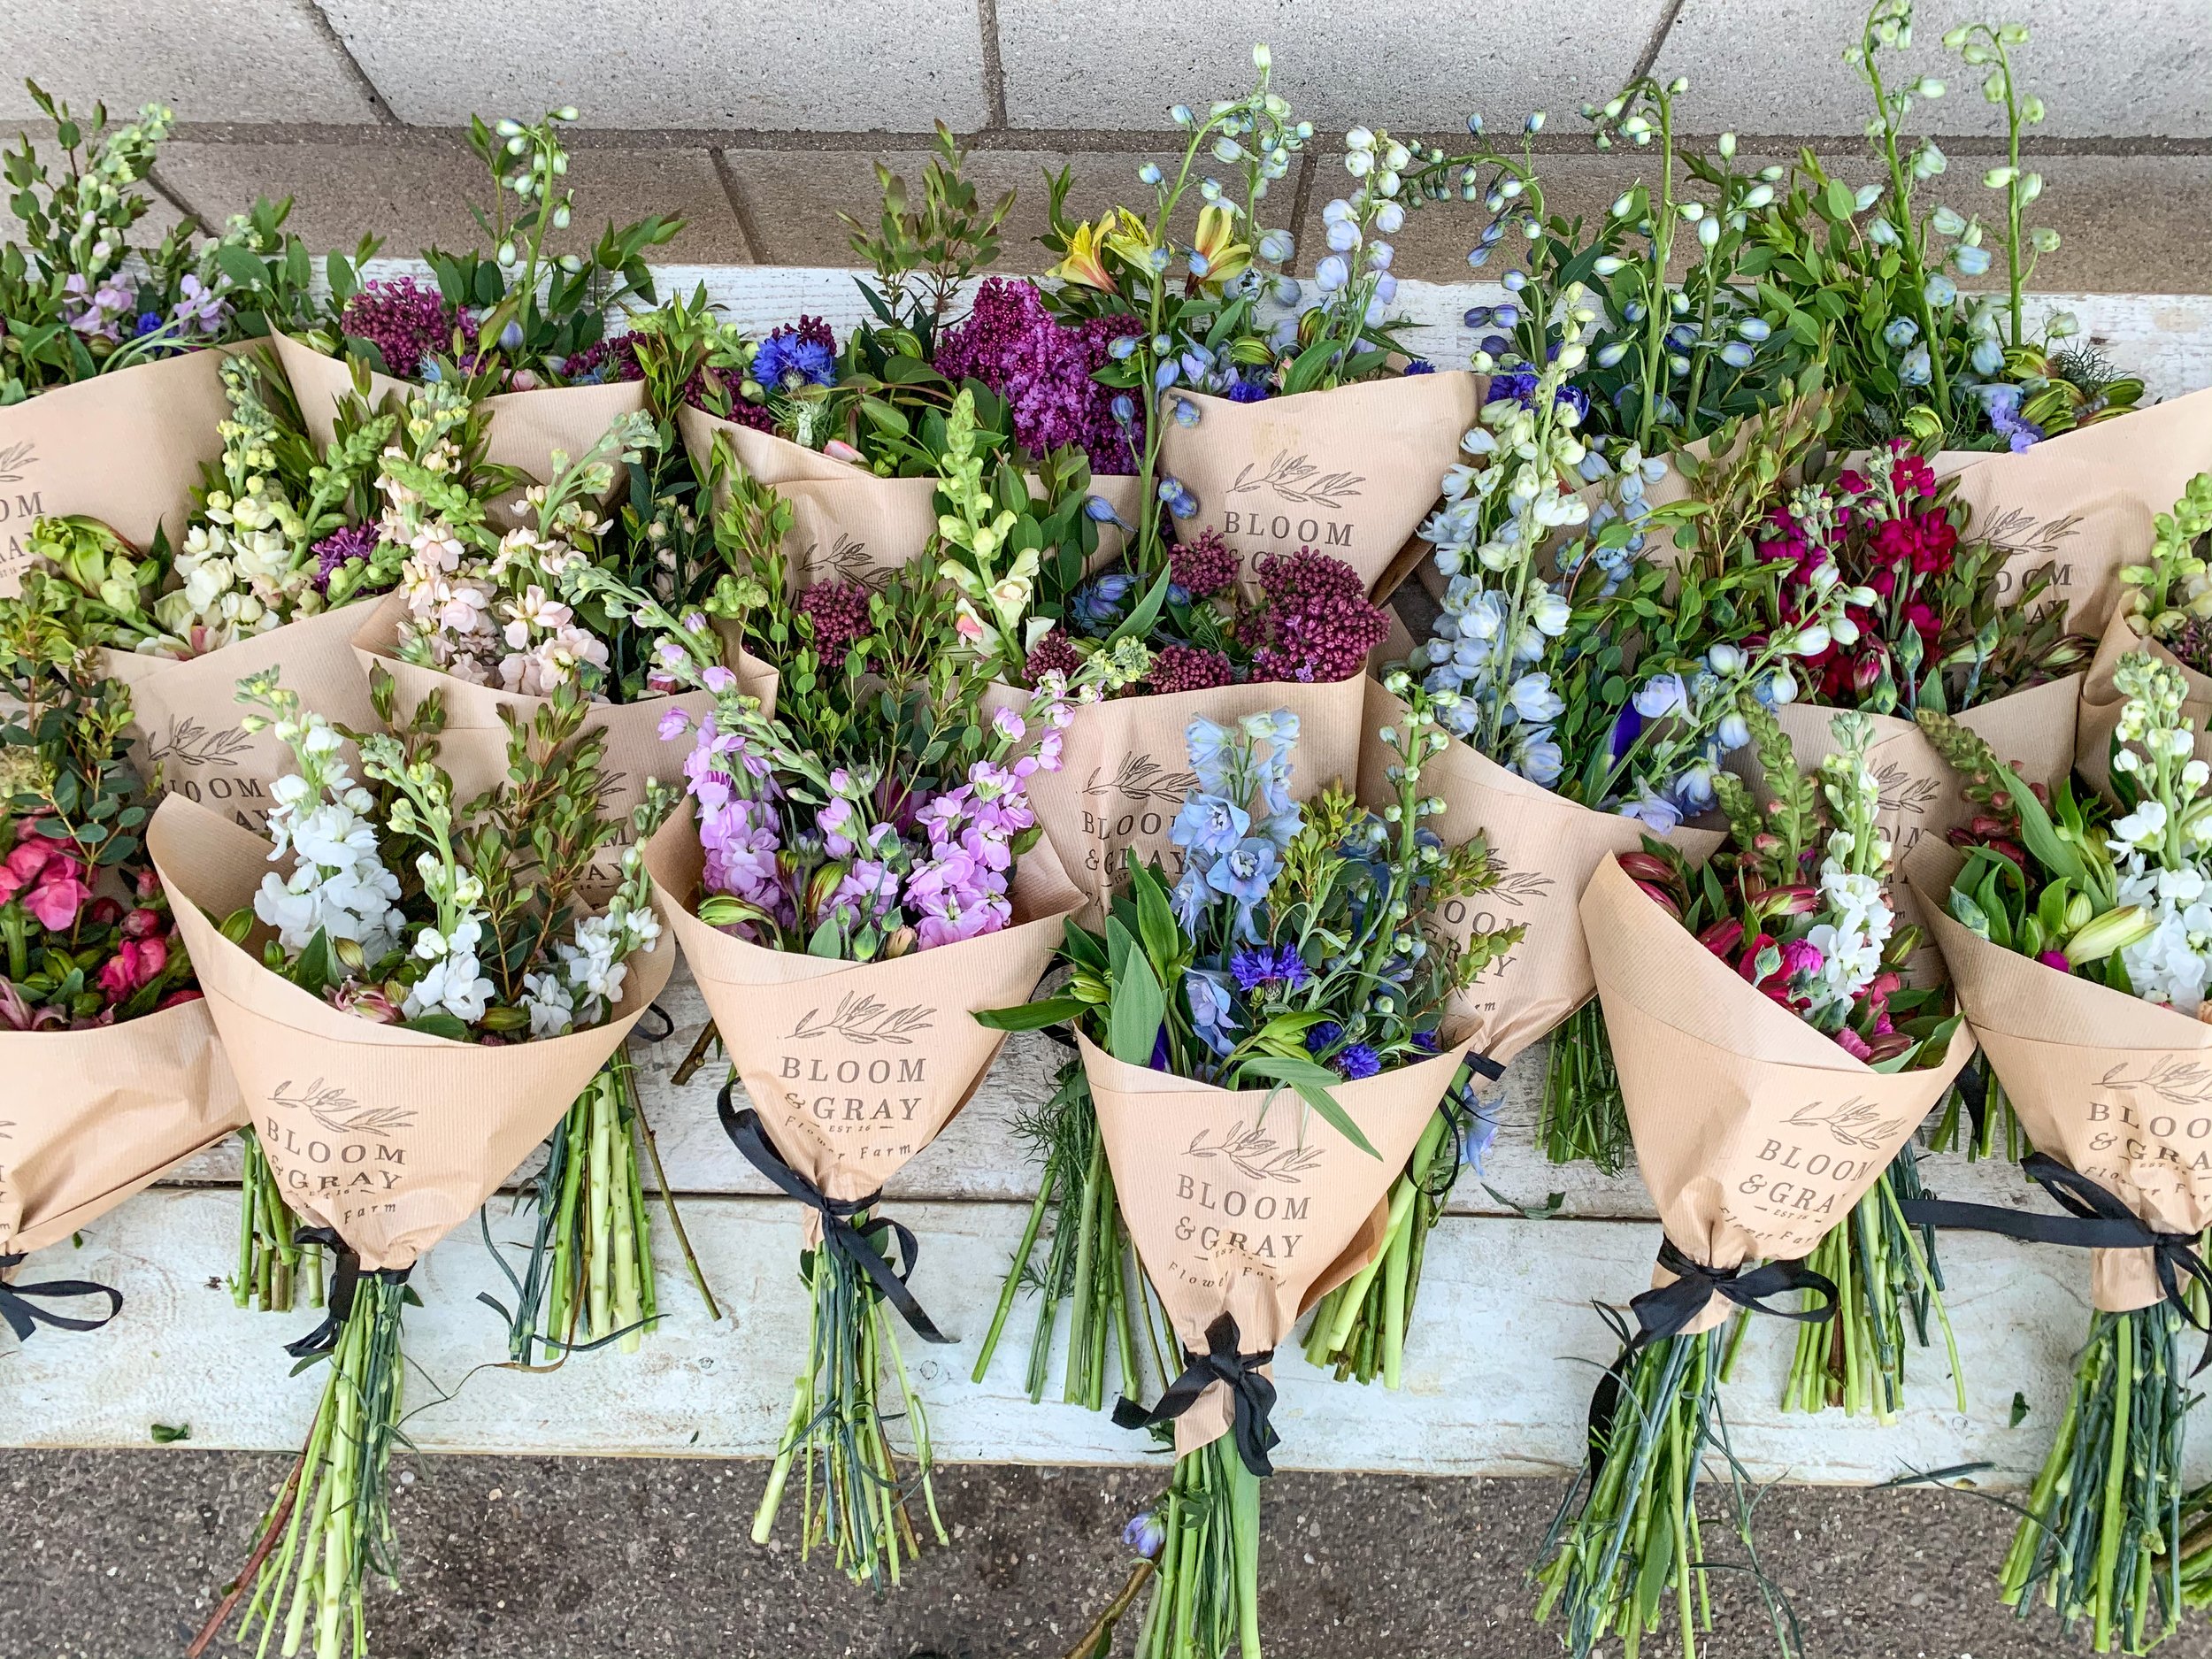
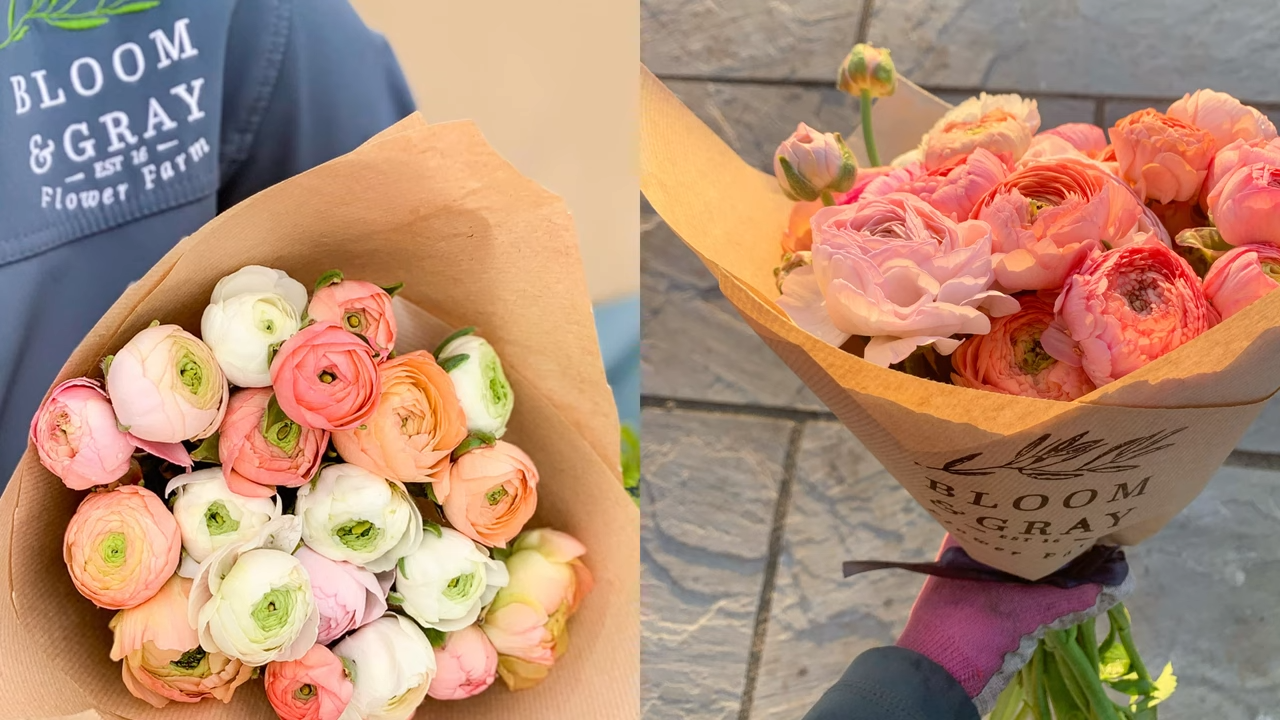
Your beautifully wrapped bouquet is now ready to be presented to a friend, family member, or loved one. The kraft paper not only protects the flowers but also adds a rustic, charming appeal to your gift.
Remember, crafting your own flower bunches and wrapping them in kraft paper can be a creative and sustainable way to share the beauty of your garden or locally bought blooms with others. So, explore your garden or nearby florists to find unique flowers and create stunning bouquets to share with friends and family.
Incorporating kraft paper into your floral arrangements not only adds an eco-friendly touch but also enhances the overall presentation. Whether you're a seasoned florist or simply love arranging flowers, kraft paper is an excellent choice for wrapping your floral creations. Give it a try, and you'll see how this simple yet charming material can elevate your bouquet-giving experience.